
Ensuring your child’s bike helmet fits properly is crucial for safety and protection. This guide helps you measure, choose, and adjust the right helmet size for your child.
How to Measure Your Child’s Head
To measure your child’s head, use a fabric tape measure around the widest part, just above the eyebrows and ears, ensuring a snug fit. Have your child sit still and look straight ahead for accurate measurement.

Step-by-Step Measuring Method
To accurately measure your child’s head for a bike helmet, follow these steps:
- Gather a flexible fabric tape measure or a string to wrap around the head.
- Have your child sit still and look straight ahead to ensure the measurement is precise.
- Position the tape measure or string just above the eyebrows and ears, circling the widest part of the head.
- Gently tighten the tape to ensure it’s snug but not too tight, avoiding any overlap.
- Read the measurement in centimeters to determine the head circumference.
- Record the size to compare with helmet size charts for the best fit.
This method ensures an accurate measurement, which is essential for selecting a helmet that provides proper protection and comfort for your child.
Understanding Helmet Size Charts
Helmets are categorized by size, with charts providing head circumference ranges for each size. These guides help match your child’s measurement to the correct helmet size.
Head Circumference Ranges for Kids Helmets
Kids’ bike helmets typically range from 46cm to 56cm in head circumference. Toddler helmets usually fit smaller heads (46-50cm), while youth helmets accommodate larger sizes (51-56cm). For example, YXS sizes cover 48-52cm, and YS sizes range from 51-55cm. These ranges ensure proper fit for varying ages and head sizes. Always refer to the specific helmet’s size chart, as slight variations exist between brands. Measuring your child’s head just above the eyebrows and ears provides an accurate fit. Using a flexible tape measure ensures the best results. Proper sizing is essential for safety and comfort, so double-check measurements before purchasing. This guide helps you find the perfect fit for your child’s biking adventures.
How to Read a Helmet Size Chart
A helmet size chart matches head circumference measurements to specific helmet sizes. Most charts list sizes like YXS (48-52cm) or YS (51-55cm), with ranges varying slightly by brand. To use the chart, measure your child’s head circumference just above the eyebrows and ears using a flexible tape measure. Find the measurement on the chart and select the corresponding helmet size. Note that some helmets may offer adjustable fit systems to fine-tune the size. Always check the product description, as sizing can vary between brands. Accurate measurement ensures a safe and comfortable fit, so double-check before purchasing. This step-by-step approach helps you interpret size charts effectively for the best fit.
Importance of Proper Helmet Fit
A properly fitting helmet is critical for protecting your child’s head in case of an accident. A loose helmet may not stay in place, increasing injury risk.
Why Proper Fit Matters for Safety
A well-fitting helmet is essential for maximizing protection during a fall or collision; A loose helmet may shift or come off, leaving the head vulnerable to injury. Proper fit ensures the helmet stays securely in place, absorbing impact forces effectively. A helmet that is too tight can cause discomfort, while one that is too loose may not cover critical areas like the forehead and temples. Ensuring the right fit minimizes the risk of head injuries and provides peace of mind for parents. Always follow size charts and measuring guidelines to select a helmet that balances safety, comfort, and proper coverage for your child’s unique head shape and size.
Signs of a Well-Fitting Helmet
A well-fitting helmet sits level on your child’s head, with the front edge just above the eyebrows. It should not tilt backward or sideways. The straps should form a “V” shape under the ears, and the buckle should rest just below the earlobe. The helmet should feel snug but not too tight, allowing room for one finger between the helmet and the head. When the helmet is fastened, it should not move excessively when the child shakes their head. Proper fit ensures the helmet stays in place during rides, providing optimal protection. A well-fitting helmet is both safe and comfortable, encouraging your child to wear it consistently.

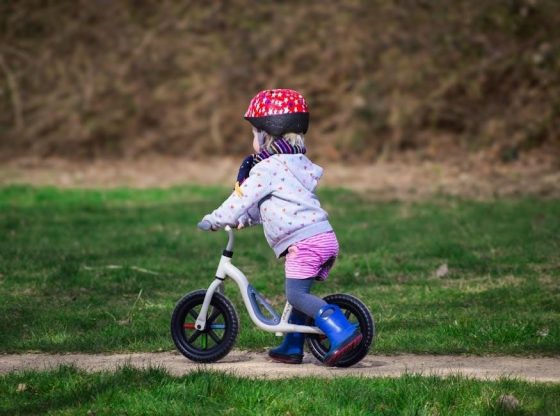
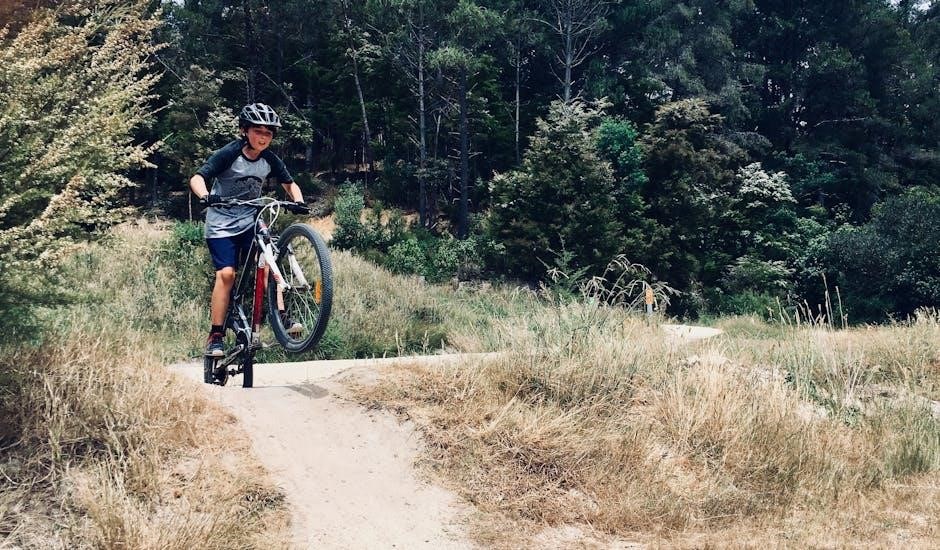
Different Types of Kids Bike Helmets
Kids bike helmets come in youth, toddler, and specialized styles. Youth helmets suit older children, while toddler helmets are designed for younger kids. Specialized helmets cater to specific riding styles, ensuring safety and comfort for various activities.
Youth Helmets vs. Toddler Helmets
Youth helmets are designed for older children, typically with head circumferences ranging from 48cm to 57cm. They often feature sleek designs and ventilation for comfort during active rides. Toddler helmets, on the other hand, are built for younger kids, usually accommodating head sizes from 46cm to 52cm. These helmets prioritize ease of use, with simpler straps and lighter weights for small heads. While both types ensure safety, youth helmets cater to growing children who need more advanced features, whereas toddler helmets focus on comfort and ease for little ones just starting to explore biking or scooting.
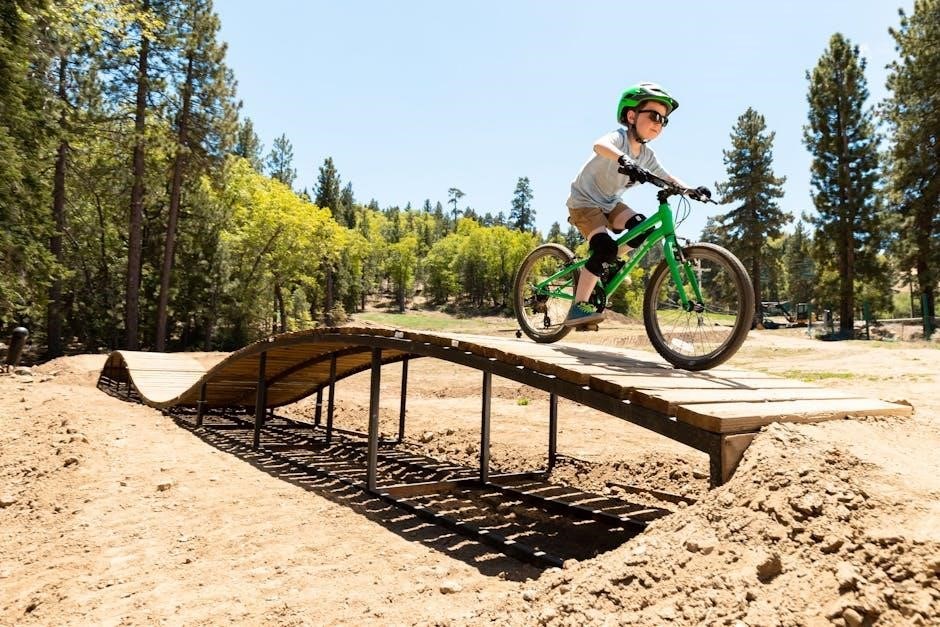
Specialized Helmets for Different Riding Styles
Children’s bike helmets are designed to cater to various riding styles, ensuring safety and performance. Road helmets are lightweight with aerodynamic designs, ideal for speed and long-distance rides. Mountain bike helmets feature visors and extra padding for off-road adventures, offering protection from branches and rough terrain. BMX helmets are more robust, often full-face designs, to withstand high-impact stunts and tricks. Each style is tailored to specific needs, ensuring optimal safety without compromising comfort. Whether your child is cruising neighborhood streets or tackling challenging trails, selecting the right helmet for their riding style is essential for maximum protection and confidence.
How to Choose the Right Helmet Size
Measure your child’s head circumference and compare it to the helmet size chart. Ensure the helmet fits snugly, with the front covering the forehead; Try it on if possible.
Steps to Determine the Correct Size
To determine the correct helmet size for your child, start by measuring their head circumference using a flexible tape measure. Wrap the tape just above the eyebrows and ears, ensuring it’s level and not too tight. Record the measurement in centimeters. Next, consult the helmet size chart provided by the manufacturer, which typically includes ranges for youth and toddler helmets. Match the measured circumference to the corresponding size. Always try the helmet on your child if possible, adjusting the fit to ensure it sits level and snugly. If the helmet moves excessively, it may be too large, while a tight fit could be uncomfortable. Proper sizing ensures safety and comfort, so double-check the fit before finalizing your choice.
Common Mistakes to Avoid
When selecting a helmet, avoid relying solely on age recommendations, as head sizes can vary. Never guess the size without measuring your child’s head circumference. Ignoring the manufacturer’s size chart is a common error, as it may lead to an ill-fitting helmet. Additionally, don’t assume a helmet will fit just because it matches a previous size. Always ensure the helmet sits level on the head, not tilted back. Avoiding proper adjustments, such as tightening the straps or using padding, can compromise safety. Lastly, don’t overlook the importance of regular fit checks, as children’s heads grow quickly. These mistakes can lead to a poorly fitting helmet, reducing its protective effectiveness.
Adjusting the Helmet for the Best Fit
Ensure the helmet sits level on your child’s head, not tilted back. Adjust the straps to form a ‘V’ around the ears and secure the buckle under the chin. The helmet should be snug but not too tight, with extra pads available for a customized fit.
How to Tighten or Loosen the Fit
To achieve the perfect fit, start by adjusting the helmet straps; Form a “V” shape around your child’s ears by gently pulling the straps to ensure even pressure. Tighten the straps by pulling the ends until the helmet feels secure but not overly tight. If the helmet feels loose, loosen the straps slightly and readjust the “V” shape. The buckle should sit under the chin, snug against the skin. For a customized fit, use the dial on the back of the helmet to tighten or loosen it. Ensure the helmet doesn’t wobble side to side or front to back. Additional pads can be added or removed to achieve the ideal snugness.
Using Additional Pads for a Secure Fit
Additional pads are a great way to customize your child’s helmet fit. Start by placing the thickest pads against the back and sides of the helmet, ensuring even contact with your child’s head. If the helmet feels too loose, add extra pads to the front or temples for a snugger fit. Experiment with different combinations to achieve balance. Avoid over-padding, as this can cause discomfort or restrict movement. After adjusting, check the fit by gently rocking the helmet side to side and front to back—it should stay firmly in place. This method ensures maximum comfort and safety without compromising the helmet’s protective features.
Safety Standards and Certifications
Look for helmets certified by organizations like CPSC, ASTM, or Snell, ensuring they meet rigorous safety standards for impact protection and durability. These certifications guarantee reliability.
What to Look for in a Safe Helmet

When selecting a safe helmet for your child, ensure it meets recognized safety standards like CPSC, ASTM, or Snell certifications. These ensure the helmet has passed rigorous testing for impact protection and durability. Look for a sturdy outer shell and thick, impact-absorbing foam inside. The helmet should have adjustable straps and a secure fit system to customize the fit to your child’s head. Visibility is also important, so opt for bright colors or reflective elements. Proper ventilation keeps your child comfortable during rides. Avoid helmets with loose parts or sharp edges that could cause injury. Always check for a certification sticker inside the helmet, confirming it meets safety standards for biking. A well-constructed helmet provides essential protection and peace of mind for parents.
Importance of Certifications
Certifications are crucial when selecting a safe helmet for your child. Look for helmets that meet standards like CPSC (Consumer Product Safety Commission), ASTM (American Society for Testing and Materials), or Snell certification. These ensure the helmet has passed rigorous safety tests for impact protection, durability, and structural integrity. Certifications verify that the helmet can absorb and distribute force effectively, reducing the risk of head injuries. Always check for a certification sticker inside the helmet, as it confirms compliance with safety regulations. Reputable brands prioritize these standards, offering parents confidence in the helmet’s ability to protect their child. Never compromise on certifications, as they are a direct indicator of safety and reliability.
Signs Your Child Needs a New Helmet
Your child needs a new helmet if it shows cracks, dents, or signs of wear, or if they’ve outgrown it. Replace helmets after crashes or every few years.
When to Replace a Helmet
Your child’s helmet should be replaced if it shows signs of wear, such as cracks, dents, or frayed straps. After a crash, even if no damage is visible, the helmet’s protective foam may be compromised. Additionally, helmets should be replaced every 3-5 years, as the materials degrade over time. If your child has outgrown their helmet, it no longer fits properly, leaving gaps or causing discomfort. Look for certifications like CPSC or Snell, as outdated helmets may not meet current safety standards. Regularly inspect the helmet for damage and ensure it fits snugly to provide optimal protection.
Factors That Determine Helmet Lifespan
The lifespan of a child’s bike helmet is influenced by several factors, including usage frequency, storage conditions, and exposure to environmental elements. Helmets used daily or in harsh weather may degrade faster. Impact or crashes, even minor ones, can compromise the helmet’s structural integrity. Additionally, the growth rate of your child plays a role, as helmets that no longer fit properly should be replaced. Material quality and manufacturer guidelines also affect lifespan, with most helmets needing replacement every 3-5 years. Regular inspections for damage or wear are essential to ensure safety and determine if a new helmet is needed.

Top Brands for Kids Bike Helmets

Popular brands like Giro, Bell, and Nutcase offer high-quality helmets with size options ranging from 46cm to 56cm, ensuring a secure fit for children of various ages and head sizes.
Recommended Brands and Their Size Options
When selecting a kids bike helmet, consider reputable brands known for quality and safety. Giro offers youth helmets with sizes ranging from 50-57 cm, while Bell provides options from 47-54 cm. Nutcase helmets cater to younger riders with sizes starting at 46 cm. These brands ensure a snug, protective fit for various head sizes. Always refer to the specific size chart for each brand, as measurements can vary slightly. Proper fit is essential for safety, so choosing a trusted brand with accurate sizing is crucial. By selecting a well-known brand, you can ensure your child’s helmet meets safety standards and provides reliable protection.

Final Tips for Ensuring a Proper Fit
Regularly check the helmet fit as your child grows. Ensure it’s snug but not too tight, and test the fit by gently rocking the helmet. Adjust pads or straps as needed for a secure, comfortable fit that stays in place during rides.
Additional Advice for Parents
Always involve your child in the fitting process to ensure they feel comfortable and confident. Check the helmet fit regularly, as children’s heads grow quickly. Encourage your child to test the helmet by moving their head gently while wearing it to ensure it stays in place. Teach them to adjust the straps themselves and explain the importance of wearing the helmet correctly. Consider helmets with adjustable features for a customizable fit. Finally, ensure the helmet meets safety certifications and replace it immediately if it shows signs of wear or damage. Proper fit and maintenance are key to maximizing protection.
Choosing the right bike helmet size for your child is a critical step in ensuring their safety while riding. By following the guidelines outlined in this guide, you can measure, fit, and maintain a helmet that provides optimal protection. Remember, a proper fit is essential to prevent injuries and give your child confidence while cycling. Regularly check the helmet’s condition and fit as your child grows. Encourage your child to wear their helmet correctly every time they ride. Investing time in finding the right helmet today can help protect your child for years to come. Stay informed about safety standards and always prioritize proper fit for maximum protection.